Getting Started
Get Photoview up and running as quickly as possible
Setup with Docker
The easiest way to setup Photoview is using Docker with docker-compose.
Configure compose file
Make a new docker-compose.yml file, and copy the content of docker-compose.example.yml (MariaDB/Postgres/Sqlite and Watchtower) or docker-compose.minimal.example.yml (MariaDB/Sqlite) to it.
Edit docker-compose.yml, find the comments starting with Change This:, and change the values, to properly match your setup. If you are just testing locally, you don't have to change anything.
For more details see Setup with Docker
Starting the server
Run the following command to start the server.
docker-compose up -dIf the endpoint or the port hasn't been changed in the docker-compose.yml file, Photoview can now be accessed at http://localhost:8000
Setup Wizard
When you first visit the site, you should be presented with an initial setup wizard.
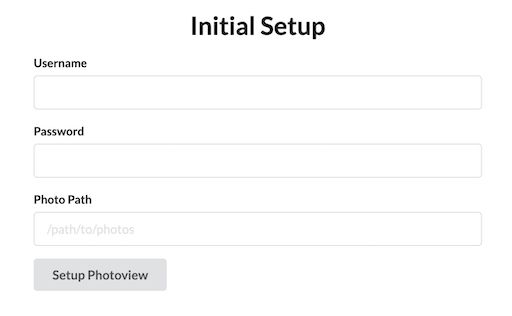
Enter a new username and password.
For the photo path, enter the path in the docker container where your photos are located. This can be set from the docker-compose.yml file under api -> volumes. The default location is /photos
A new admin user will be created, with access to the photos located at the path provided under the initial setup.
The photos will have to be scanned before they show up, you can start a scan manually, by navigating to Settings and clicking on Scan All